Safari Animals Magnet Set
(or templates for whatever you
want!)
By: Cantoo Crochet (or find me on Ravelry – Malkyra)


NOTES!!!
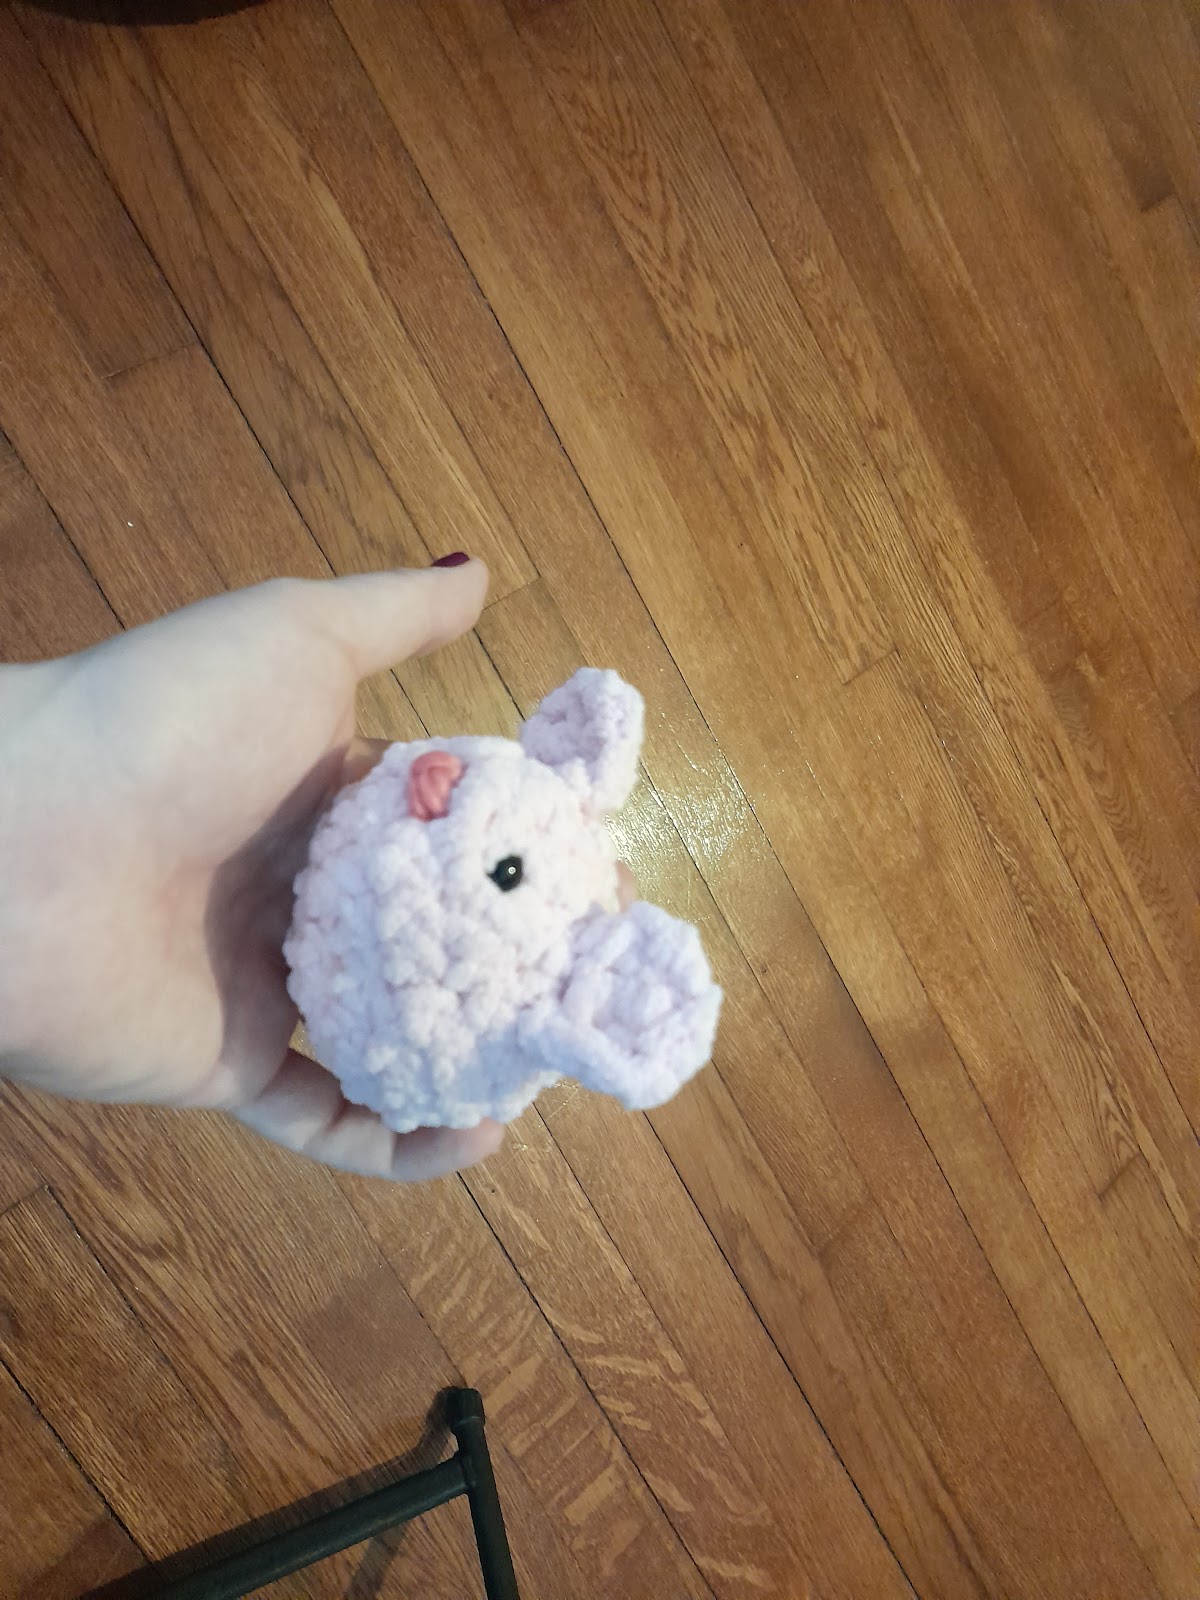
The main circle/faces like the bears
and the lion are about 3 1/4 inch in size. These are worked in the round,
amigurumi style, except for the ears, eye pieces, etc.
You can start these all out as a
template, which was my idea originally. You can make it into whatever you want!
Snowman? Sure! Faces with hair? Whatever your heart desires! Just get creative!
The biggest challenge for me was
really the star. That one got a little tricky. I might like to finesse that
later on – if you have suggestions, put them in the comments in Ravelry! This
is just another attempt to try to get myself inspired again. I’ve been on such
a long hiatus, and it’s kind of depressing me.
I only typed up the ones in the
picture. Also, some of that isn’t dog hair – pay attention to your glue gun
residue, haha.
Materials
·
Regular worsted weight yarn, color of your
choice
·
E hook
·
Hot glue gun. Alternatively, you might could use
fabric glue. But I didn’t use that.
·
Googly eyes (I used 7mm mixed colors)
·
Magnets (I used ¾ inch “Aleene’s TACKY”
magnets. I didn’t use the adhesive. I glue-gunned.)
·
Yarn needle for finishing
·
Scrap yarn for other stuff
·
Maybe a stitch marker, if it will help
Abbreviations
MR – magic
ring
dc –
double crochet
sc –
single crochet
hdc – half
double crochet
tc – triple
crochet
ch – chain
st –
stitch
dec –
decrease
inc –
increase
sk – skip
TO – tie off
Sl st –
slip stitch
rd - round
MAIN HEAD PATTERN
MR – 6
Rd 1-3 (3
rounds): 2DC in each – total 48. Ch 2, sl st to next, TO.
For lion:
Attach
mane color to last st. (Note: from here on, don’t stitch/chain too tight. If
you need to go up a hook size, do so, cause you don’t want it to pull/pinch.)
Rd 4:
[Ch4, sk 3 DC, sc into next] x 12. Sl st to original color.
Lion ears – make 2
Leaving a
long tail (maybe 4” or so?) at the front side for attaching to the head later,
Ch 3 + 1
to turn,
Sk 1,
turn, sc in 3, working up along the other side, sc in 3, 3sc in the 1 stitch at
the top of the original chain row, sc in 3. TO. Attach.
For the black and panda bears
Use the
main head pattern.
Ears – make 2
Ch 4 + 1
to turn, sc 3, 2sc in last of the chain, working up the other side, sc in 2, sc
4 in the one stitch at the top of the original row, sc in next 3, [2hdc in
next, 2sc in next] twice, 2hdc in next, sc in 2, sl st, TO.
Panda eyes – make 2
Ch 4 + 1
to turn
Hdc, sc in
3, 2sc in last, working up the other side, sc in 2, sc, hdc, sl to next. TO.
Weird Flower (the one that is
off to the left in the picture)
MR 5
Rd 1: 3sc
in each – 15
Rd 2: 2sc
in each – 30
Now you’re
going to be working the “petals” in rows and attaching them later back to the
body.
Row 1: ch 10
+ 1 to turn
Row 2: sc,
hdc in 9, sc in main and then sc into the main body to attach it. Working back
up the chain, hdc in 9, sl st to last. Repeat a total of 5 times.
For 5 point star
MR 5
Rd 1: 3sc
in each – 15
Rd 2: 2sc
in each – 30
Now you’re
going to be working the “tines” in rows and attaching them later back to the
body.
Row 1: ch
8 + 1 to turn
Row 2: sl
st, sc in 2, hdc in 2, tc in 3, sk 3 of main body, sc in 4th st, sc
in next. You will repeat this a total of 5 times. However, NOTE. Before and
after the 4th tine, do an extra sc. TO. (Do not sl st.)
You might
could starch spray to get this to stop curling. I did not do that, and you can
see it wants to curl just due to the yarn.